Return from Dunkirk
A diorama and figure conversion combo
by Peter Gillson
The Navy helping the Army return
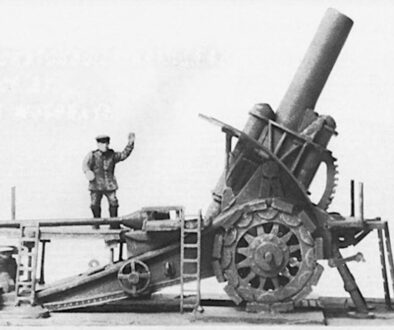
There are times when figures just cry out to be built, but not necessarily as the figure designer envisaged, or even as I first envisaged. This is just such a situation. One of my favourite areas of modelling is the depiction of VC recipients; since many awards were as a result of actions which involved saving a wounded comrade. The Master Box set ‘Out of the Frying Pan, into the Fire’, set MB3536, containing two pairs of figures is ideal for conversion to depict such VC actions.
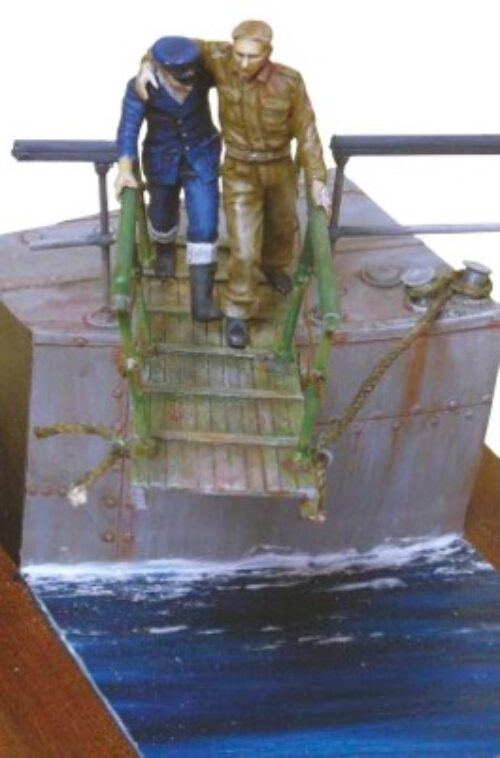
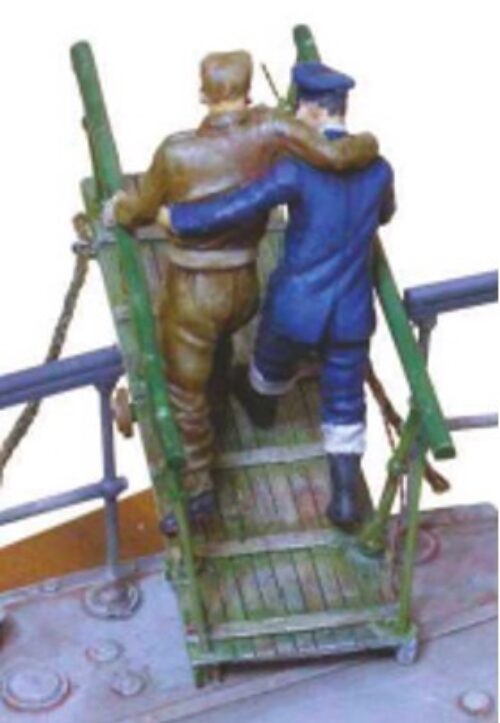
I bought a set with that intention. The crystallisation of this particular idea came when I saw an IWM photo (H1622) of a sailor assisting a soldier returning from Dunkirk – the scene was decided. It is not VC related but is an interesting modelling challenge using that Master Box set.
Normally, I work on the figures first and only when I am happy with them do I start to work on the base, but for this vignette I wanted to ensure that the base worked when trying to replicate the photo in miniature. Past experience has shown me that what may make a great composition in a photo may not work in 3D, so careful thought was given to its composition. The first question was how many figures? Could the story be told with just the two figures? I think that the central essence of Dunkirk; the Navy helping the Army return, can be depicted by only two figures.


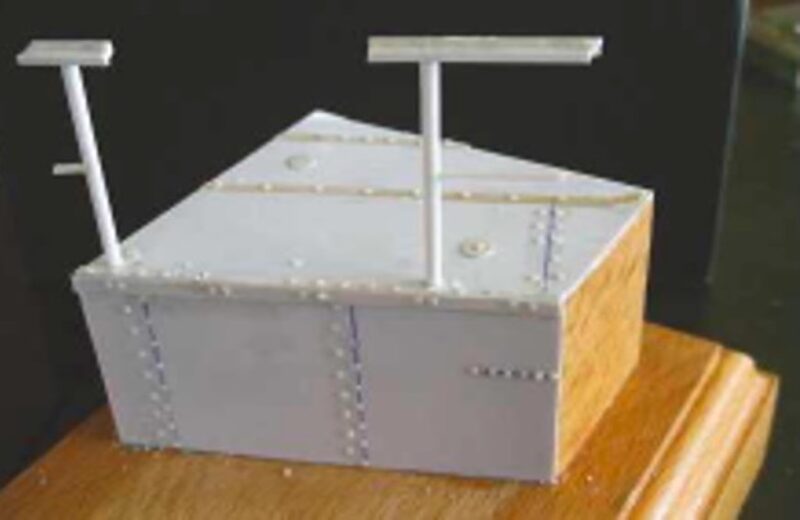

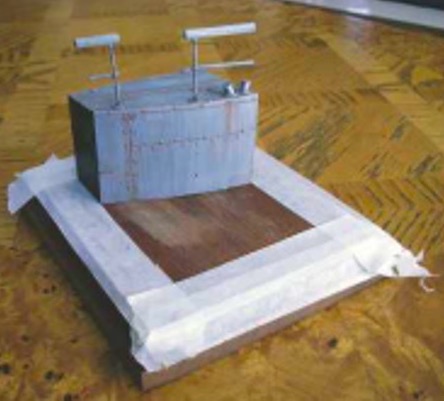
The next question, how many of the three main elements of the gangplank, the ship and the jetty should be included? I could think of three options. The first was to show the gangplank and part of both the ship and the jetty; the second option was to have the gangplank attached only to the jetty. I settled on option three, to have the end of the gangplank sitting on the deck of the ship with a small amount of ship, lightly detailed, and a simple representation of the sea. As normal, the wooden base was made from oak and shaped using my table mounted router.
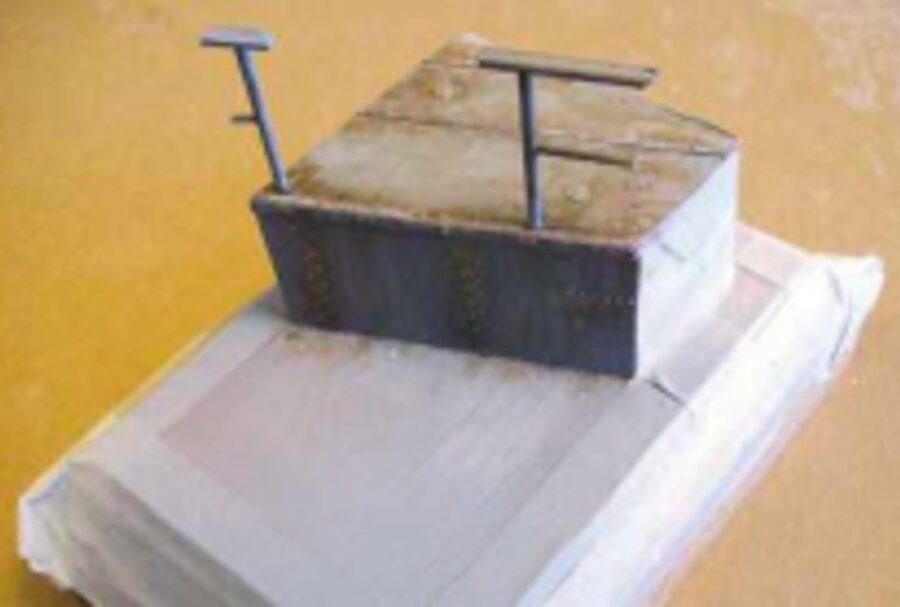
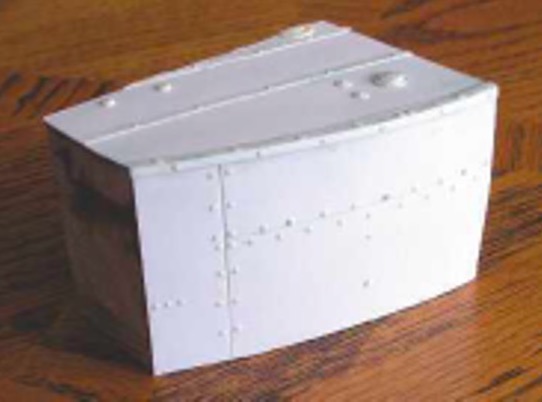
Onto this base, another block of oak was added to form the bulk of the ship with plastic card fixed to it to represent the deck and the side of the ship. Rivets punched from plastic and a few other details were added to create the impression of a ship without spending too much time on it – after all, I am modelling the figures, not the ship.
Painting the ship
The ship was primed with Halford’s grey primer which is a pretty good basic grey for the ship. Using artist’s oil paints, I applied various shades of grey as well as some rust tones made from a mixture of white, Mars Brown and Vandyke Brown to generally dirty up the ship and create the impression of rust. The paint was applied straight from the tube, virtually no turps, using a rubbing or scumbling technique to create a dirty, rusty effect.
An artist would use a bristle brush for this technique since they are hardwearing and designed for the job. Such a brush would be too harsh for a model so a water colour brush needs to be used, which would be ruined by the technique.
A solution came by accident, my teenage daughter is into finger nail art and, while searching for stocking fillers, I came across packs of brushes aimed at the nail art market for a couple of pounds per pack. When it arrived, I was so surprised by their quality that I immediately ordered a couple of packs for myself! These brushes are not good enough to replace my sable brushes for figure painting but for oil paint, applying washes, dry-brushing or painting ground work, all of which can be pretty hard on brushes, these are great value. Some sets also include some interesting metal tools, no idea what they are designed for but can be used for sculpting.
The raised details were dry-brushed with red to represent red oxide primer and then highlighted over the red with shades of metal to represent the general wear and tear of sailors walking over the deck.
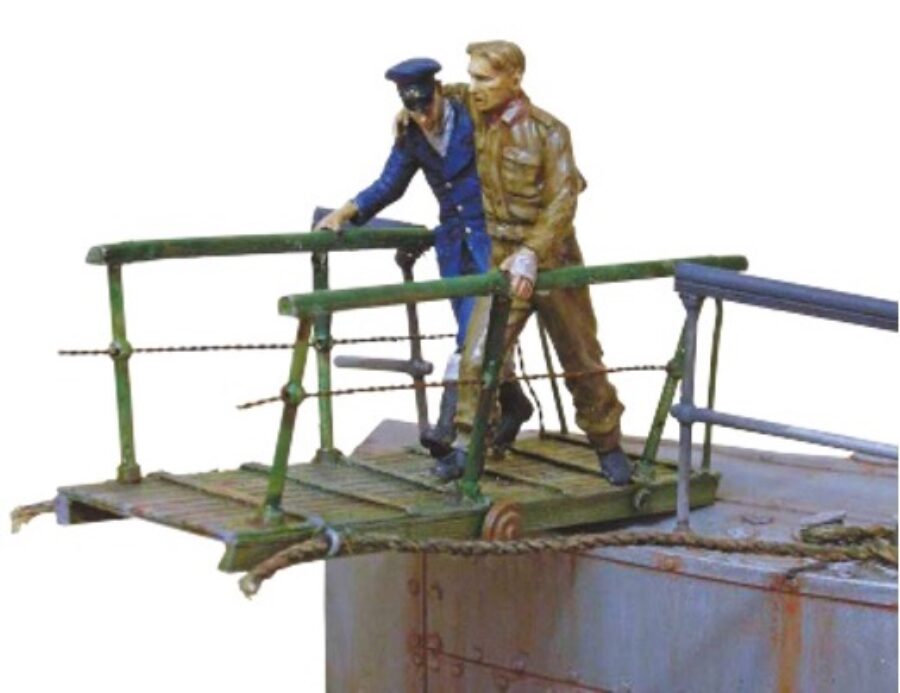
The gangplank
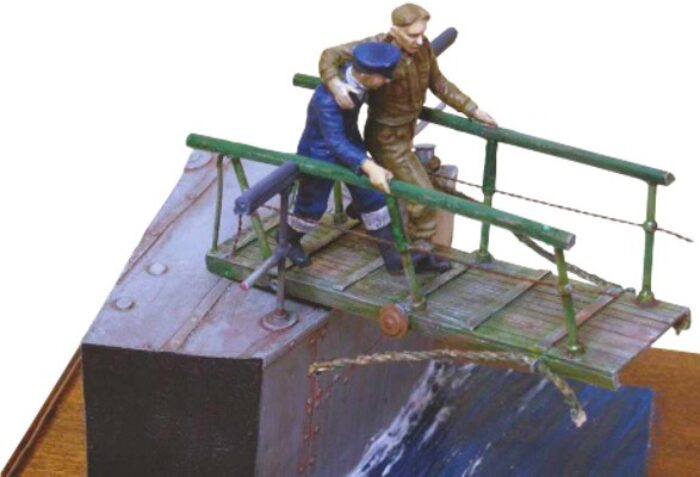
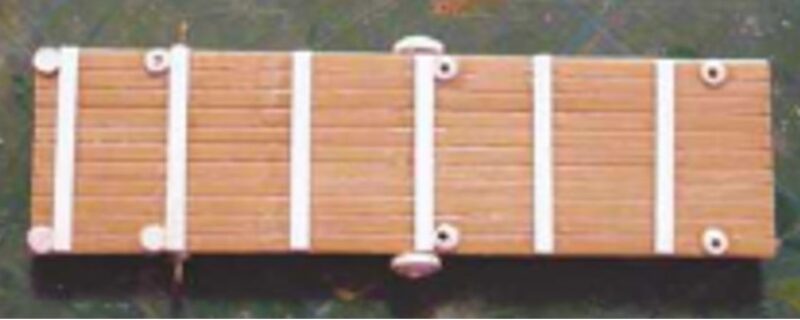
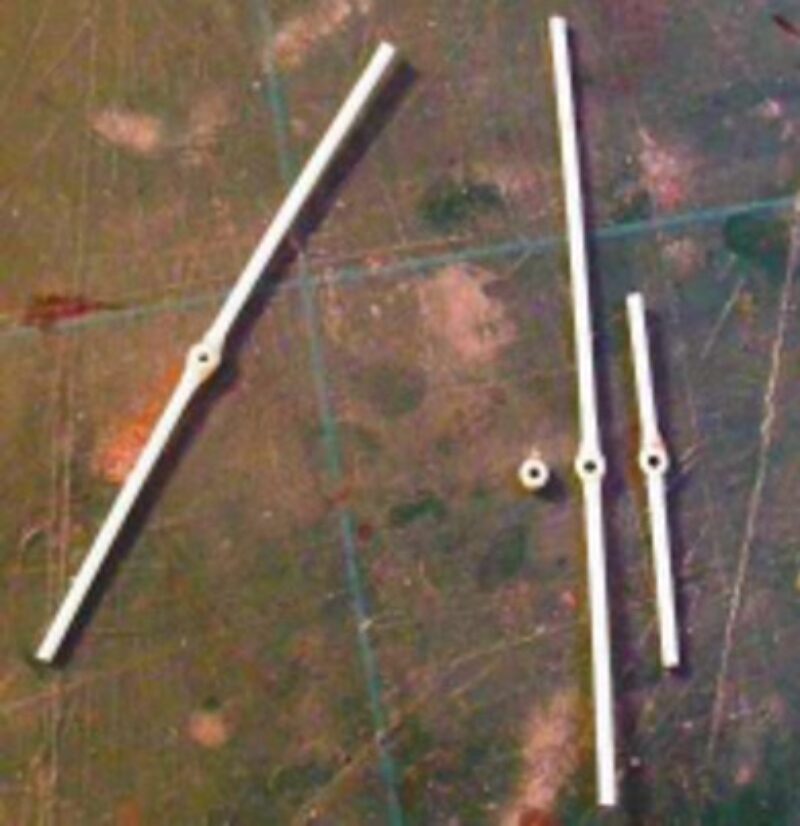
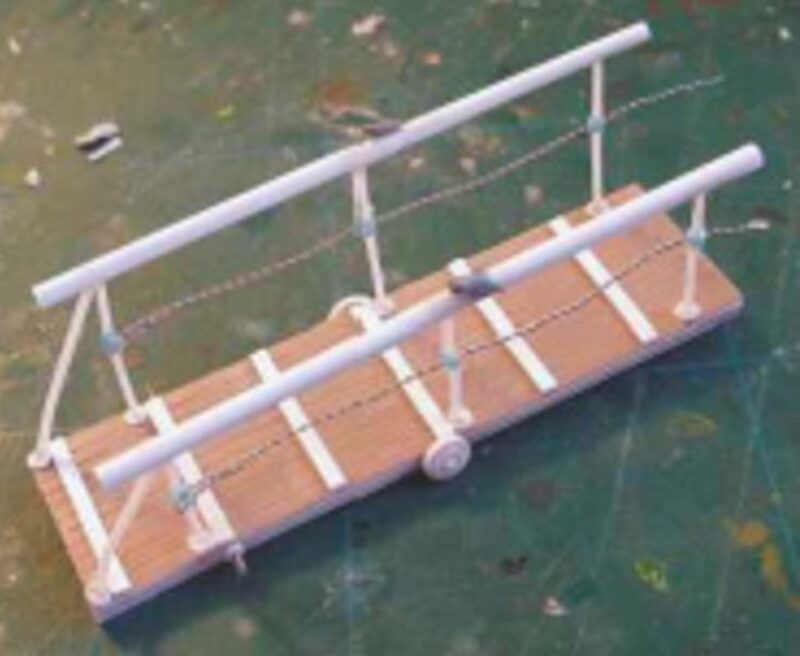
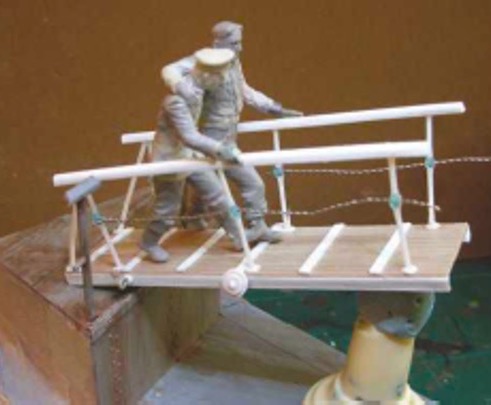
This was completely scratch built, mainly from plastic card and was a fairly straightforward construction using sheet plastic, the darker colour sheet already having some planking pattern. The grain effect was enhanced by running the blade of a razor saw sideways down the length of the gangplank piece; some H section lengths for the long runners which were infilled with thinner plastic or putty were also added. The only difficult parts were the metal posts which have holes in them for the lines to go through.
My first thought was to drill holes in short lengths of plastic rod – this did not work. Fortunately, my wife’s hobby is needlework so a rummage through her box of spare beads provided some suitably sized little round beads on to which I could glue two over-long lengths of plastic rod which were cut to size the following evening and fitted in place. The ‘ropes’ are each two lengths of thin craft wire wound together, the type sold to hold beads and available in a number of sizes. The gangplank had a bent length of paperclip glued to one end to be fitted into a vertical hole in the deck of the ‘ship’ to support it at an appropriate angle. The base was constructed – or so I thought.

The figure conversions
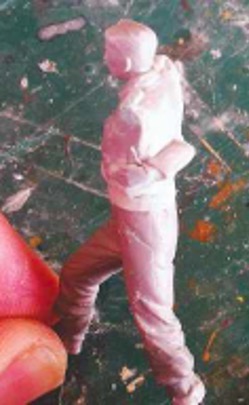
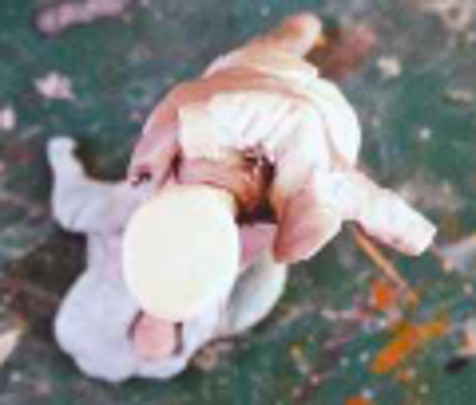
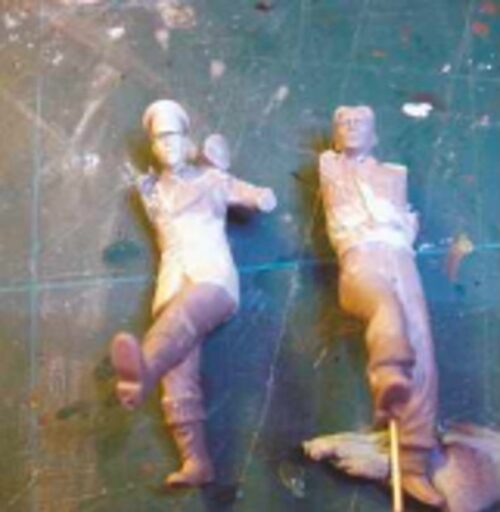
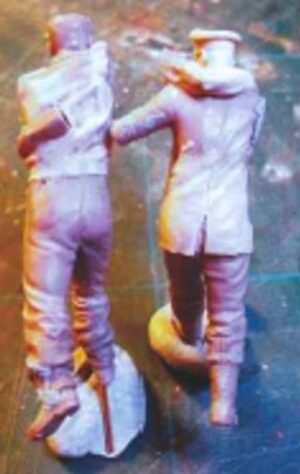
My first decision was that I wanted to keep the two figures separate, to make painting easier. At first, all went to plan, before gluing the legs of either figure together the trousers below the knee were carved away, the webbing anklets for the soldier and the sea boots for the sailor were made from MagicSculp. The next evening, the trousers of both were made and the third evening, the two pairs of legs were glued together. The figures are made in the standard way in three parts, two legs and a torso.
The weakness with these figures is that there is no guide as to the exact rotation of the torsos on their respective legs, which is particularly important when the figures are interlinked.
It would have been nice had there been a notch of some sort so that the exact positioning and rotation of the torsos was clear. I had to estimate this from the box art and I know I got it wrong. The kit figure is wearing the German double breasted panzer jacket which is a good basis for conversion into a naval reefer jacket. Most of the front details were removed, the lapels reshaped and the skirt of the jacket made using MagicSculp – ensuring a good fit against the soldier.
MagicSculp was also used to form most of the soldier’s battledress blouse. Now came a problem. The arm of each figure which goes around the other – they did not fit! The sailor’s left arm around the back of the soldier is made in two parts, above the elbow attached to the sailor’s torso; below the elbow is a separate part. The inside of the arm above the elbow was thinned a little and a notch was cut in the arm to act as a locating point.
The matching area on the soldier was deepened a little before MagicSculp was placed onto the soldier, dusted with talcum powder and the arm of the sailor pressed into place then left to cure overnight. With the MagicSculp set, excess putty could be removed and the lower portion of the arm was glued to the soldier, more putty was used to build the battle dress blouse so there is a nice tight fit between it and the arm.
Having created a notch in the left arm I could be sure that the two figures would always be placed together in the same way. Next, the soldier’s arm which goes around the sailor’s neck. As with the previous arm, this was not a good fit so the inner part of the arm was shaved a little to sit closely on the sailor’s shoulders and it was then glued to the sailor and not the soldier. Putty was then used to build the sleeve of the blouse.
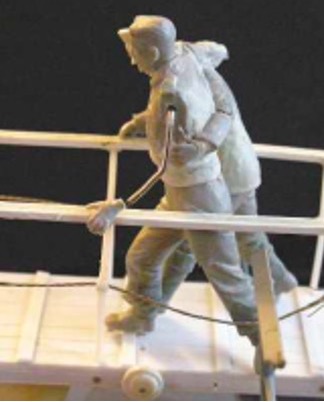
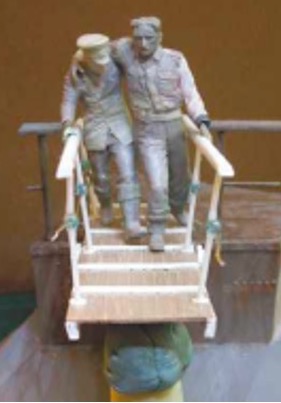
The head of the soldier is from the kit, while the sailor is a Hornet German officer from my spares box, the cap slightly modified to look like a British naval cap. The remaining arms of the two figures could be fitted so that the hands would rest on the rail. It is important that the hands really do hold onto the rail so I modified the top of the handrail into a curve using plastic rod, then glued the hands to the rails rather than to the arms of the figures. Using hands from the bits box,
I left some wrist/forearm on the hand, ensuring that the sleeve was hollowed so the wrist can slip into the sleeve, producing a realistic fit. The hard part of this approach is to ensure that the figure is in exactly the right position so that the hand and arm meet together at the correct angle. This is difficult enough with a single figure but trying to keep two separate figures fitting together correctly proved impossible. Change of plan – the two figures was glued together, this would make painting them more difficult but so be it.
Painting the gangplank,
sea and figures
The gangplank was also primed with Halford’s grey and then painted to represent old greyed wood with a wash of green to show the original colour having been worn away by use. The articles by Emmanuel Nouaillier were particularly useful.
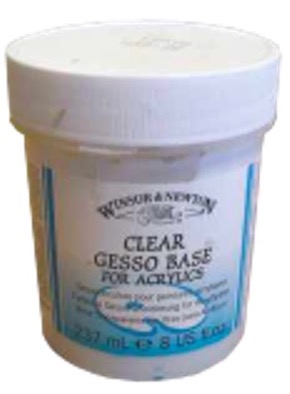
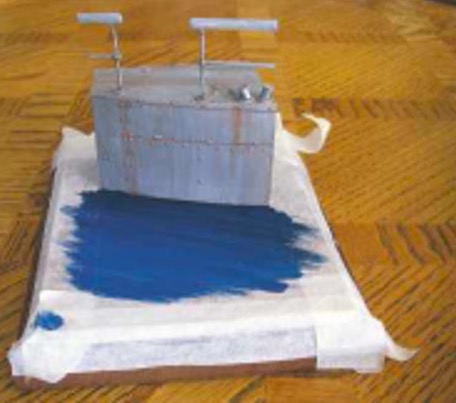
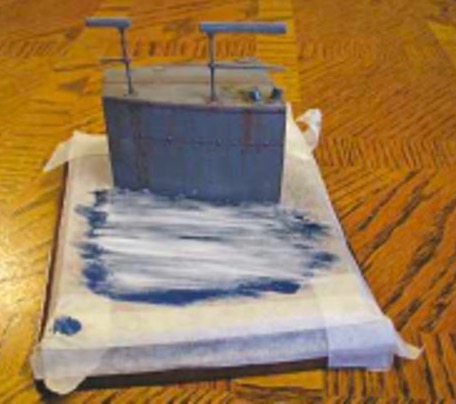
I wanted to keep the sea as simple as possible the top of the wooden base was painted in a couple of shades of blue – darker nearer the ship and artists clear gesso base gel was applied to create the effect of ripples on the surface. A very simple effect but ok since this is not a central part of the vignette.
These were painted in the normal way, skin tones first followed by the uniforms, again all using Vallejo acrylics. My technique is straightforward, start with a solid covering of a mid-tone, often two thin coats to avoid losing details.
Then gradually create progressively lighter shades by adding small amounts of the highlight colour to create highlights, which are applied to progressively smaller areas until pure highlight colour is applied to the lightest highlights.
Progressively darker shades are created by adding the shadow colour to the base colour which are applied to the areas in shadow, reserving the pure shadow colour for the deepest shadow areas. The shade mix is slightly more watery than the base colour.


Final assembly and
re-build
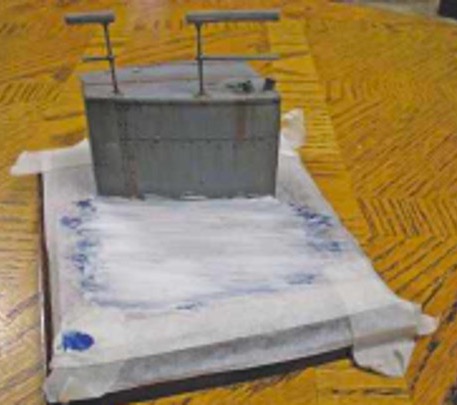
The figures were glued to the gangplank which was glued to the ship. Some thin string was fixed to the ships rails and through rings on the gangplank, soaked with thin CA glue then pulled tight until the glue had set. It was when I has finished and assembled the parts that that I became less than happy with the gangplank and the ship. My attempt to build the posts of the gangplank was not good enough. I do not know why I did not think of it at the start, but a search of some ship modelling websites located a supplier of brass stanchions, off went an order for some of a couple of sizes. The gangplank was duly rebuilt using the metal stanchions, and is a whole lot stronger. I made the original section of the ship too square – ships are curved and it looked more like a metal oil tank than a ship. A second base was made, as before but with the ship section curved to look more ship-like.
Final thoughts
I hope that it conveys the essence of Dunkirk which was the return of the Army assisted by the Navy. Although it was a lot of work, I am glad that I did modify the gangplank and completely rebuild the base – the curved ship looks a lot better.
However, it is unfortunate that on the second base the gesso did not dry transparent, no idea why not, I think the sea on the first base with the transparent gesso over a blue painted base looks a whole lot better. Although the fit of the two figures is not very good – at least when I put them together, these are nice figures and I envisage using them again.
