Micro Scale WW1 Artillery
Andy Belsey
scratch-builds
a group of Great War artillery pieces
in 1:285 scale!
After completing my 1:285 scale front line trench model I got the urge to build some artillery pieces to complement it. The boundaries of my trench model (about 140-metres/150-yards) meant that I had to display artillery on separate bases as no artillery would be that close to the front line. My original venture into the world of 1:285 micro scale was with GHQ’s WW2 tanks and vehicles made for wargames. I’d already made about 50 mini dioramas on 50 x 50mm bases so I chose this same format to display my artillery pieces. I wanted to show a selection of guns ranging from field artillery to heavy guns, so
I decided to build four of my favourite ones – the 18pdr, 4.5” howitzer, 60pdr and 9.2” howitzer.
GRANDFATHER
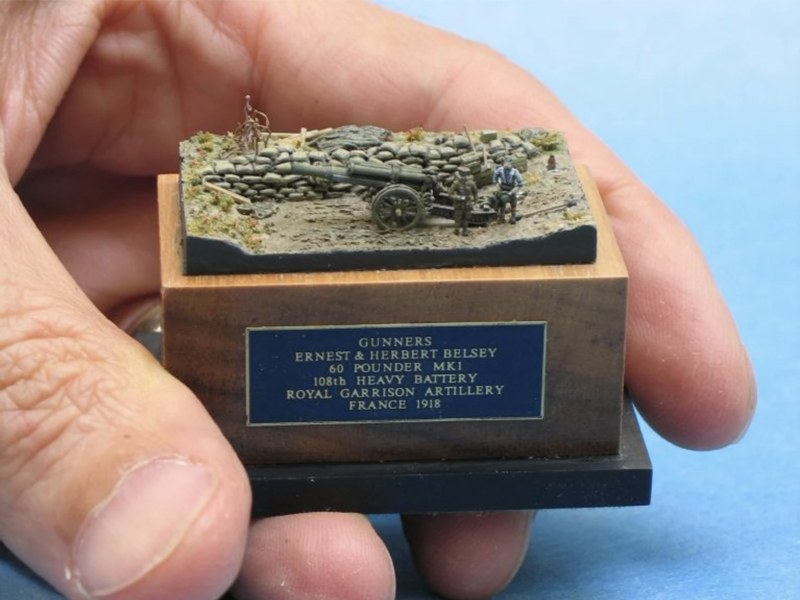
He was in the Royal Garrison Artillery during the Great War, so I was keen to show his involvement on the battleground. About 10-years ago I built some micro dioramas of both my Grandfathers during their war service. Although (Grandad) Ernest Belsey was born in East Kent he had emigrated to Canada in 1905. By 1914 he was a Canadian citizen and there were plans for his youngest brother Bert to join him, but the war intervened and spoilt their plans. By 1916 Bert was facing military service, so Ernest came back to look after his brother instead. After returning to Kent, Ernest met Alice Bones and soon fell in love. In May 1917 Ernest and Bert volunteered together in the hope that they would be able to serve side by side. They managed to train near each other and then both get posted to Belgium, to the 108th Heavy Battery of 60pdrs in August 1917. They were put on different gun teams but saw as much of each other as possible. We’ve got about got about 50 letters and 150 postcards written by Ernest to Alice and I’m amazed at what he got away with including in the messages which aren’t censored.
BELOW: The author’s 1:285 scale model of Ernest and Bert Belsey.

He had a tough time and didn’t expect to survive. Ernest and Bert both got small wounds but not ‘blighties.’ They both survived the war.
Ernest never got back to Canada, so if the Great War hadn’t happened I wouldn’t exist!
INSPIRATION
I trawled the Internet and my book collection for photos of Great War artillery emplacements for inspiration of how to display my guns.
I found plans for the 18pdr and 9.2” howitzer on the Landships II website:
www.landships.info/landships/artillery_articles.html
I printed and reduced these plans to 1:285 scale but kept the A4 versions for reference. Landships II also have photo studies of many of the major guns of the conflict.
A lot of what I do is far too small to work with my fingers …
MODELLING THE GUNS
You can buy commercial versions of some of these guns, but none are crisp enough for my liking. I’d already built a 60pdr for my grandfather’s diorama and I’d even made a silicone mould of the barrel.
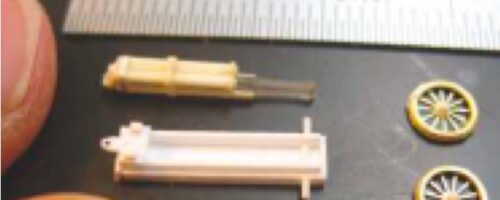
This barrel was turned on a watchmaker’s lathe, but I have changed jobs since. The recoil pistons were made of Evergreen Microstrip (styrene rod). I also have a Scale Link 1:32 scale white metal model of a 60pdr, which I could use for reference (I’ll complete that one day!). Not having access to a lathe now meant that the new gun barrels were made by putting short lengths of styrene rod into the chuck of an electric drill.
I formed the barrel shapes with needle files and sandpaper as it span in the drill. You can get styrene microstrip in many sizes and the majority of the guns are made from tiny bits of this. I’ve invested in a few pairs of very fine tweezers, which are invaluable for the type of projects that I tackle (a lot of what I do is far too small to work with my fingers).
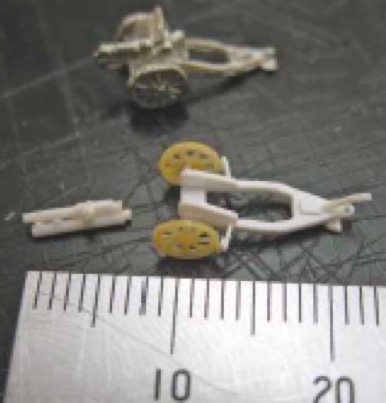
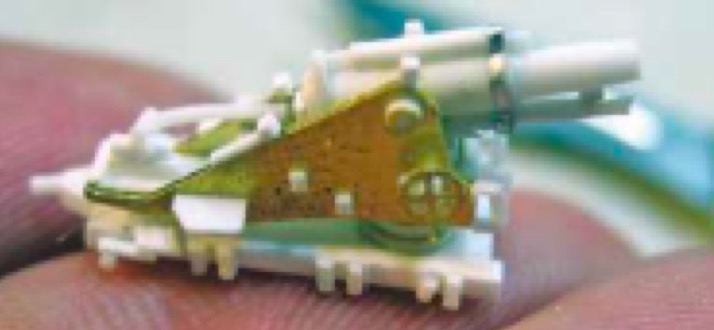
You’ll notice in the photos that the wheels and gearing handles are made from brass etchings. These are produced from my own CAD drawings – perks of being a professional architectural model maker! The wheels are made from several layers of etching, stuck together with super glue to bulk out the rims. The hubs are styrene rod, sanded into a dome shape. Other parts like the gunshields are cut from sheet styrene.
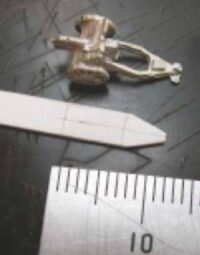
I basically referred to the larger plans and then measured from the scale plans to cut the tiny bits to length. The other (silver coloured) material that I’ve used is the foil from scalpel packets, cut into fine strips. Fixed with super glue, this will bend and wrap around surfaces to form extra detail.

MODELLING THE GROUND WORK
Field artillery was often sited in a shallow pit, so that the gun barrel was slightly above ground level. This would help to hide the position of the battery. All artillery was in danger of counter battery shelling if it was spotted, so the gunners tried to camouflage and disguise their batteries. They would be sited near foliage or under netting.
This caused a problem for me, as I didn’t want to hide all the detail I’d gone to so much trouble to create. I originally intended to display my 18pdr in a hedgerow, under a wooden shelter, but realised that this would obscure everything. The photo that I was recreating had the limber sited next to the gun, which is why I’ve displayed the limber alongside. Photographs usually show a gun with a pile of ammunition next to the gun instead. The bases are made from blocks of 12mm MDF board, 50 x 50mm. They have extra layers of 3mm MDF to create contours and gunpits.
The sides of the gunpits were revetted with sandbags. My sandbags are resin castings that I had leftover from my trench model. The original masters were made as sausages in Milliput, which were then divided into rows of bags.
... you can’t spot what type of puttees they are wearing as they are only 7mm tall!

The MDF bases were coated with car body filler and sprayed with cellulose paint. The groundwork top surfaces were given a dark brown ‘wash’ of acrylic paint and details like the sandbags and boards picked out in beige colours. Soil areas were coated with PVA glue and dusted with fine dust swept from my garden paths. I also added sieved chalk as these guns are made to complement my Somme diorama in chalky soil. When the soil was dry I added finely sieved foam texture in beige and greens for the grass.
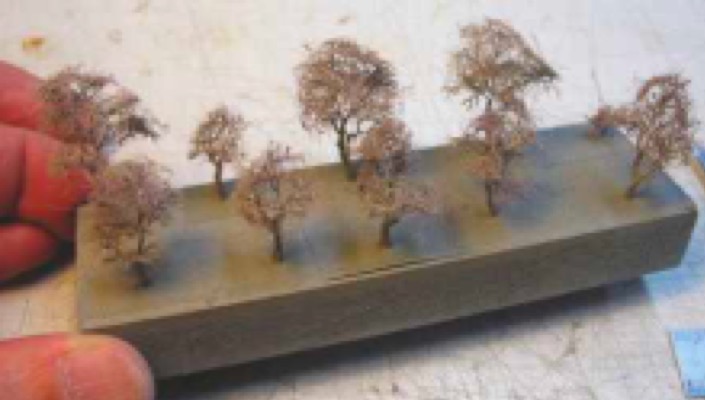
In places I added long ‘static grass’ type flock texture. The 4.5” howitzer is in a more standard gun pit with tapering sandbagged walls. This gun has a wooden frame and netting over it to camouflage it from enemy aircraft. This model is difficult to photograph as the view is so narrow. The netting is probably too tall but I had to compromise to get a view of the gun. I’ve lined the floors of the gun pits with wooden boards. Mine are made from styrene strips. The boards would prevent the gun wheels from rutting the floor as they recoiled. The 60pdr is shown hidden behind a row of trees. Batteries would hide amongst foliage whenever possible. I made trees using brass-etched trunks, bulked out with car body filler.
I have made them in the past using the twisted wire method, but why waste time when there’s an easier way? The twigs were made from a Scotchbrite type pan scourer. This is best teased out into small clumps and . super-glued onto the trunks. Always leave gaps between the clumps to avoid them looking like lollypops. The trunks and twigs were spayed grey-brown before spray-gluing on some fine green foam texture. I planted the trees into the ground by drilling holes into the baseboards. The 9.2” howitzer is shown sheltered behind a small ridge. Heavy guns like this were sited several miles behind the front. Being far less portable, due to their weight, they could not be evacuated if the front lines were taken by the enemy.

Four guns and a limber awaiting paint.
Heavy artillery was not used to target the enemy front line as this was too close to your own front line. At long distance it was easy for shells to fall short, so they were used to target things like enemy strong points, communication and supply centres further back.
Howitzers differ from standard artillery in that they lob shells high into the air so that they have the ability to land in trenches or on the ‘blind side’ of a hill. Trench planners would use Wellington’s old trick of hiding a trench just over a rise in the ground, creating a blind spot from standard artillery. The high trajectory of howitzers and mortars enable them to reach deep or hidden spots.
The dioramas come to life and have scale by the figures and clutter that surround the guns. I have used GHQ British artillery figures, and although these are actually WW2 ones, you can’t spot what type of puttees they are wearing as they are only 7mm tall! I’ve painted some with their jackets on, some in shirts with braces hanging down and a few with bear chests. Look around the guns and you’ll spot shells waiting for priming, spent shells and an assortment of boxes and clutter.
This is all made from small bits of styrene rod or square section. I spent quite a while sanding points on styrene rod, making shells. Painting at this scale demands a steady hand and good eyesight. My eyes are beginning to falter now that I’m in my 50s and these dioramas proved to me that I had to invest in magnification at last.
The dioramas come to life and have scale by the figures and clutter that surround the guns.
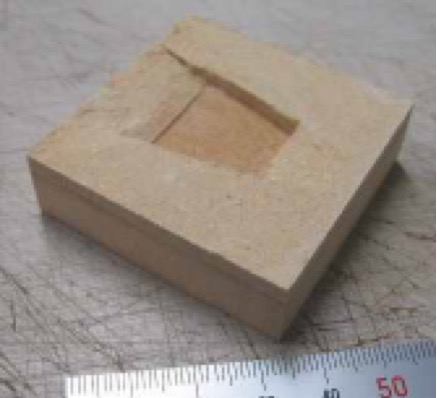
The 50 x 50mm block of MDF for the 4.5” howitzer base.
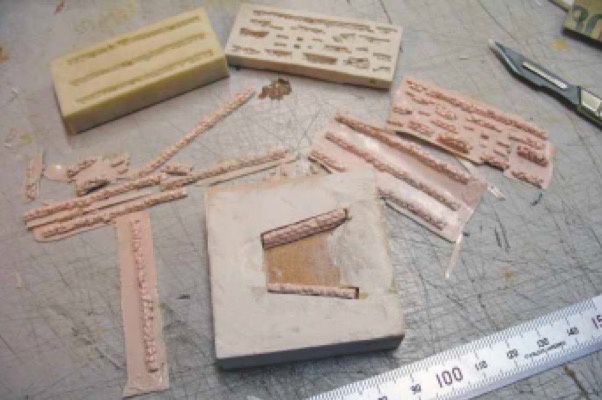
Lining the gun pit with resin sandbag castings.

Blending the sandbags into the terrain with Milliput.
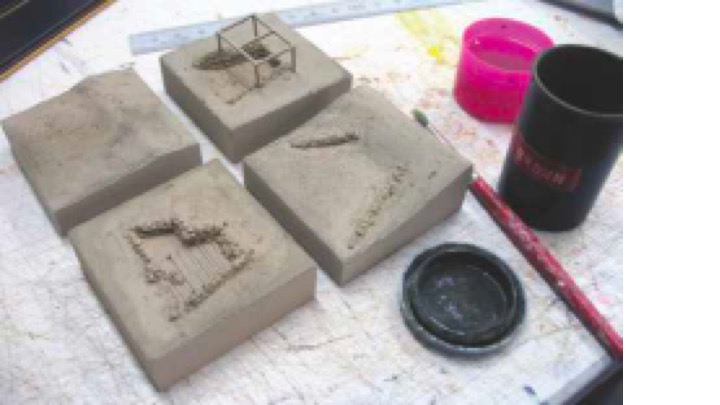
Primed bases awaiting a wash of dark brown acrylic paint.
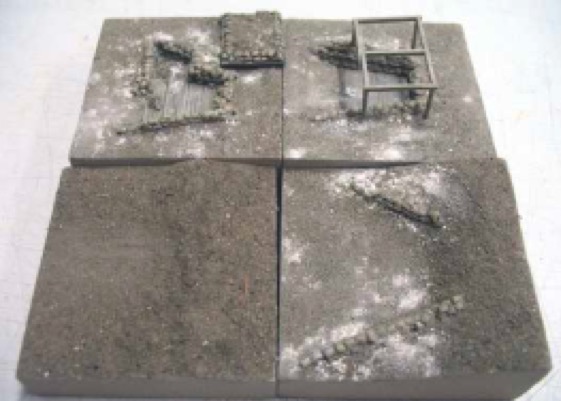
Bases coated with soil and chalk dust.

Bases with grass textures added.
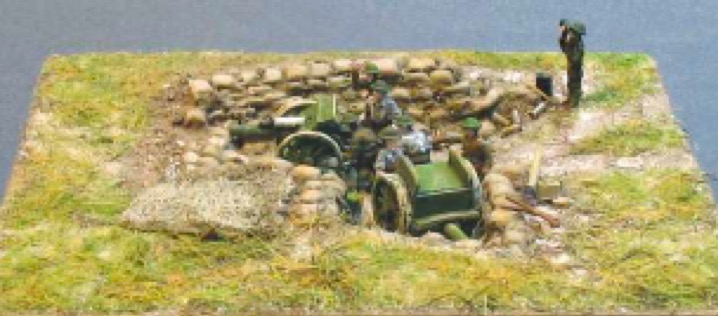
The author’s completed 18pdr mini diorama.

The author’s completed 4.5” howitzer mini diorama.
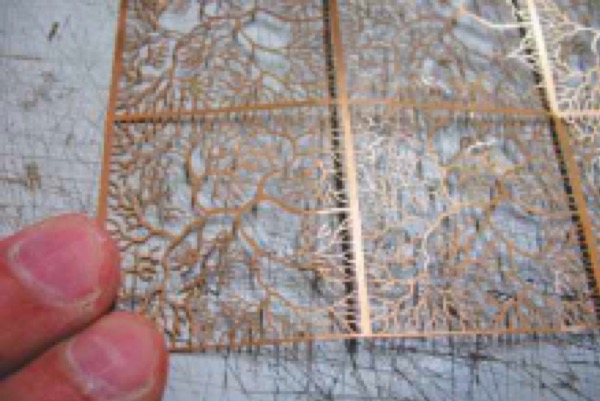
Some etched-brass branches.

I originally glued my dioramas in a row on a single base, but found it very difficult to view and photograph them. I later made separate acrylic covers and a new plinth. Each of the bases can slot into this new plinth to keep them together, but I now have the option of sliding them out to view them individually.
The GHQ British artillery figures painted and ready to be assigned to their guns.
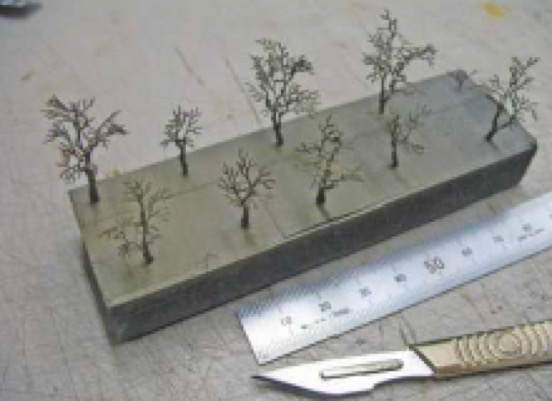
Tree trunks bulked out with filler and sprayed grey-brown.

Twigs added with pieces of Scotchbrite scourer.

The author’s completed 60pdr mini diorama.


